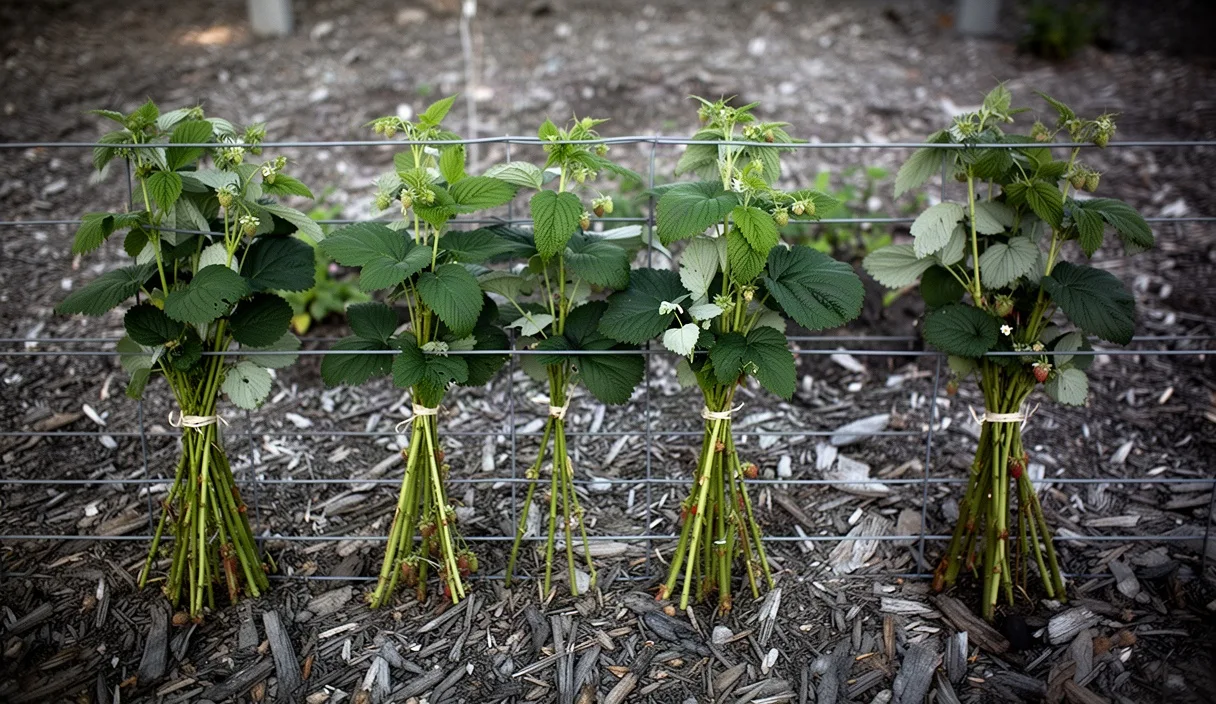
You will identify competing vertical water sprouts and clear central leader clutter while the tree sleeps. Make clean collar cuts that direct photosynthetic energy into fruiting spurs next summer.
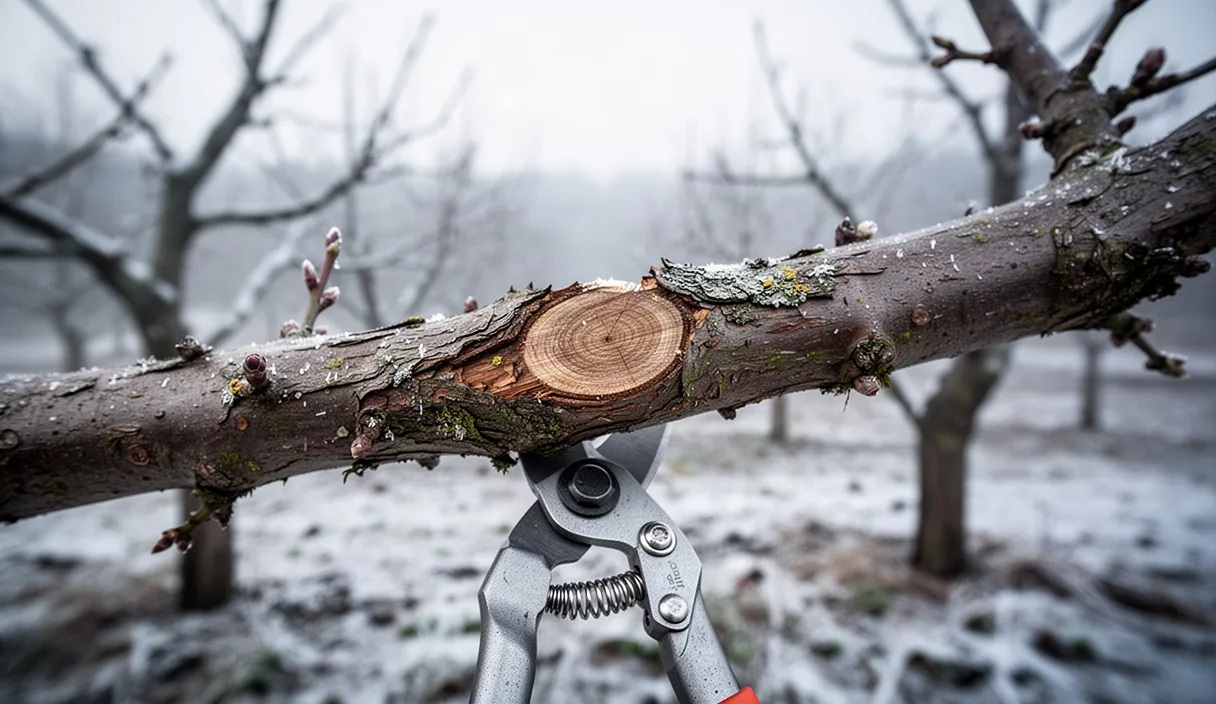

- Remove all dead, damaged, and crossing branches before thinning productive wood.
- Retain horizontal branches angled between forty-five and sixty degrees from the trunk.
- Cut back to the branch bark ridge without leaving dead stubs or flush wounding.
Apple trees enter physiological dormancy once low temperatures trigger leaf drop and sap descent in late autumn. Between midwinter and the first bud swell in early spring, usually between late January and early March depending on hardiness zone, growers have an ideal window to shape the tree architecture. Performing structural cuts during this dormant stage reduces the risk of winter injury, prevents sap bleeding, and allows an unobstructed view of the branching scaffold before foliage obscures the interior framework.
The primary horticultural objective during this window is improving solar access throughout the interior canopy. Without deliberate canopy reduction, outer shoots shade out interior wood, leading to the gradual dieback of lower fruiting sites and poor color formation on developing fruit. Sunlight must reach the inner third of the tree to maintain bud vitality for future seasons. Pruning also alters hormone distribution, balancing auxin flow from shoot tips to promote stable vegetative growth and regular annual cropping.
Anatomy of the Branch Bark Collar
Every pruning cut that removes a lateral branch must respect the branch bark collar. The collar is a slight swelling at the junction where a branch meets a larger parent limb or the central trunk. It contains overlapping layers of xylem tissue from both the stem and the branch, creating a chemical and physical barrier known as the branch protection zone. Cutting into this zone impairs the tree's natural compartmentalization process, opening the vascular system to wood-decaying fungi and bacterial infection.
Locating the cut requires identifying two anatomical markers: the branch bark ridge on the upper surface of the crotch and the swollen collar on the underside. The cut must angle outward from the branch bark ridge to just outside the collar base. Leaving a cut flush with the trunk removes the regenerative tissue needed to roll callus wood over the wound. Conversely, cutting too far past the collar leaves a dead stub, commonly called a coat hanger, which rots in place and prevents wound closure.
For limbs thicker than one inch in diameter, use a three-cut removal technique to prevent the weight of the falling wood from peeling the bark down the trunk:
- Make an undercut on the underside of the branch roughly twelve inches away from the trunk, cutting one-third of the way through the limb.
- Make an overcut from the top surface, placed two to three inches farther out along the branch than the undercut, continuing until the branch snaps cleanly.
- Make the final finishing cut just outside the branch bark collar, supporting the remaining short stub with one hand so the blade finishes smoothly without tearing tissue.
Sterilizing and Sharpening Bypass Cutters
Clean cuts require razor-sharp edges and sanitary tool surfaces. Always select bypass shears rather than anvil models for live wood. Anvil pruners crush tissue against a flat brass or plastic base, bruising the cambium layer and inviting pathogen entry. Bypass shears work like scissors, where a sharpened blade slides past a thick hooked counter-blade, producing a clean slice that calluses rapidly.
Sharpening should be conducted using an oil stone or a medium-grit diamond file. Hone only the beveled face of the cutting blade at an angle between 20 and 22 degrees. Draw the stone in a single direction from the heel of the blade to the tip, maintaining steady contact. Never grind the flat backside of the cutting blade; doing so creates a gap between the cutting edge and the hook, which causes the tool to pinch and chew through wood fibers instead of slicing them cleanly. Finish by lightly removing the microscopic wire burr from the flat side with a single pass of a fine stone held completely flat against the metal.
| Tool Type | Maximum Branch Diameter | Primary Application | Maintenance Focus |
|---|---|---|---|
| Bypass Hand Shears | 0.75 inches | Spurs, suckers, small lateral shoots | Blade tension adjustment and 20-degree bevel |
| Bypass Loppers | 1.50 inches | Intermediate branch reduction, dense growth | Pivot bolt lubrication and bumper inspection |
| Curved Folding Saw | 4.00 inches | Scaffold limb removal, large structural cuts | Pitch removal and tooth set alignment |
Sterilization reduces the risk of transmitting fire blight (caused by Erwinia amylovora) and fungal cankers between trees. Keep a spray bottle of 70 percent isopropyl alcohol or a 10 percent pine oil solution on hand. Spray the tool blades between every tree, and wipe down metal surfaces after cutting into any limb showing dark streaking, sunken bark, or oozing lesions. Chlorine bleach can be used at a one-to-nine ratio with water, but it rapidly corrodes carbon steel blades and requires thorough rinsing and oiling after use.
Eliminating Vertical Water Sprouts and Basal Suckers
Water sprouts are vigorous, unbranched shoots that emerge vertically from the upper surfaces of horizontal scaffold branches. Basal suckers arise directly from the rootstock or the lower trunk below the graft union. Both types of growth consume large amounts of nitrogen and water while producing little to no fruit. Their dense vertical orientation creates heavy shade over the interior canopy and intercepts light that would otherwise fuel spur development below.
Remove basal suckers completely, cutting them as close to their point of emergence on the rootstock as possible. If suckers originate below the soil line, excavate the soil down to the root origin and cut them flush to avoid leaving buds that will push new clusters of growth the following season. Do not leave above-ground stubs on rootstock wood.
Address water sprouts on interior scaffolds by pruning them directly back to the branch bark collar. However, if a structural limb has become completely stripped of foliage and exposed to direct sunscald, select one well-placed water sprout every three to four feet, shorten it by one-third to an outside-facing bud, and leave it to develop into a replacement fruiting lateral. Remove all other vertical shoots entirely. Thinning these vigorous shoots returns energy to the horizontal fruiting framework and eliminates habitat for woolly apple aphids and scale insects.
Opening the Center Canopy for Airflow and Sunlight
A productive apple canopy relies on a distinct balance between structural scaffolds and open airspace. In central leader systems, common for semi-dwarf and standard rootstocks, maintain a cone-like pyramid where the bottom scaffold limbs extend farther out than the middle and upper limbs. This profile prevents the upper tiers from casting full shade over the lower tiers. In open center systems, the central trunk is removed early in life to maintain four or five outward-reaching primary scaffolds.
Target a branch angle between 45 and 60 degrees relative to the vertical trunk. Branches growing at narrow angles, such as 30 degrees or less, form weak crotches containing trapped bark. These unions fail under heavy fruit loads or wet snow. Branches growing flat at 90 degrees produce weak extension growth and quickly become overcrowded. Use thinning cuts, which remove an entire limb back to its parent branch, rather than heading cuts, which merely shorten a limb and cause a dense broom of vegetative shoots to erupt beneath the cut.
Inspect the interior framework systematically:
- Remove dead, broken, or canker-ridden limbs first to establish clear space.
- Identify crossing branches that rub against larger scaffolds, removing the limb with the narrower attachment angle or less favorable orientation.
- Eliminate downward-hanging limbs, as fruit grown on pendulous wood receives poor light and causes the branch to drop into lower scaffold space.
- Maintain at least eighteen to twenty-four inches of vertical clearance between limb tiers to allow uninterrupted airflow and sunlight to penetrate the central core.
Selecting and Preserving Two-Year Fruiting Spurs
Apple cultivars produce the majority of their highest-quality fruit on specialized short, stubby shoots called spurs. These structures develop on two-year-old wood and can remain productive for six to eight seasons if light levels remain above 30 percent of full ambient sunlight. Identifying the difference between vegetative shoots and spur wood prevents unintentional removal of the upcoming season's harvest.
Spur systems feature closely spaced leaf scars and terminate in a broad, plump, fuzzy bud. These terminal buds contain both embryonic leaves and embryonic blossoms. In contrast, vegetative shoots show long internodes between buds, and the buds themselves are small, narrow, and sit flat against the bark. Lateral shoots produced during the previous summer consist entirely of one-year-old wood with flat vegetative buds; these will develop into spur systems during their second year.
As spurs age past six seasons, they branch repeatedly into complex clusters called spur systems. When these clusters become crowded, the fruit size decreases and biennial bearing cycles can emerge. Thin complex clusters by removing the downward-pointing and weakened spur branches with sharp hand shears, retaining only the thickest, upward-facing spurs. If a spur shows less than one-quarter inch of annual growth at its base or exhibits soft, graying bark, prune it out to make room for younger, more vigorous replacement spurs emerging from adjacent wood.
Managing Sanitation of Fallen Clippings
Pruning debris left beneath the orchard canopy harbors pests and fungal spores that compromise orchard health during the spring bloom. Fallen wood from the current pruning session must be collected and removed from the site, especially if the orchard has a history of fungal cankers or wood-boring insects. Venturia inaequalis, the fungus responsible for apple scab, overwinters primarily in fallen leaves, but dead twigs and shoot tips often house powdery mildew (Podosphaera leucotricha) mycelium in the terminal buds.
Sort wood into clear diameter categories for processing:
- Large wood greater than two inches in diameter should be cut into firewood or removed to an isolated area away from the orchard perimeter to prevent bark beetles from breeding in the curing cambium.
- Medium wood between one-half inch and two inches should be chipped into coarse mulch or burned where local municipal regulations permit.
- Fine twigs and spur clippings can be brought to the row middles and pulverized using a flail mower set to scalp within two inches of the sod, which accelerates physical decomposition before spring ascospore discharge.
Do not apply uncomposted apple wood mulch directly beneath apple trees, as this creates a transmission pathway for wood-rotting basidiomycetes and provides cover for voles (Microtus species) to girdle the lower rootstock collar under winter snow. If composting orchard prunings, the pile must sustain internal temperatures between 140 and 160 degrees Fahrenheit for several weeks to thoroughly degrade resistant fungal structures and destroy overwintering insect eggs.
Common Mistakes
Avoid these structural and timing errors during dormant maintenance:
- Indiscriminate heading: Shortening every branch tip by a few inches removes terminal buds, stimulates dense vegetative clusters right at the canopy perimeter, and shades out the fruiting interior.
- Removing too much canopy at once: Removing more than one-third of the total wood volume in a single season stresses the root system, causing an aggressive flush of water sprouts the following summer.
- Pruning during extreme sub-zero weather: Pruning when temperatures drop below 20 degrees Fahrenheit can cause dry, cold air to penetrate deep into fresh cuts, freezing the cambium ring and killing the bark collar.
- Leaving flat cuts: Angling cuts excessively or leaving cut surfaces flat to collect rain pools moisture on the open vascular tissue, promoting internal wood rot.
Next Steps for the Orchardist
Once structural cuts are complete and clippings are cleared, transition the orchard toward early spring management. Monitor temperatures closely as late winter gives way to spring. When silver tips begin to appear on the buds and daytime temperatures consistently stay above 40 degrees Fahrenheit, apply a dormant spray of horticultural mineral oil to suffocate overwintering San Jose scale, European red mite eggs, and aphid colonies.
If cankers, fire blight, or severe scab pressure were noted during pruning, apply a fixed copper bactericide-fungicide spray at late dormant or green tip stage according to label rates. Record the number and severity of structural cuts made across cultivars in an orchard log. This documentation provides a reference point for monitoring shoot vigor, sunlight penetration, and yield patterns throughout the summer growing season, allowing you to fine-tune your cuts for the next dormant cycle. If structural damage or internal wood rot is extensive across primary trunks, consult a certified arborist or university extension specialist before removing major structural scaffold systems.
This guide serves educational purposes; consult your regional agricultural extension office for site-specific soil testing and plant health orders. Disclaimer