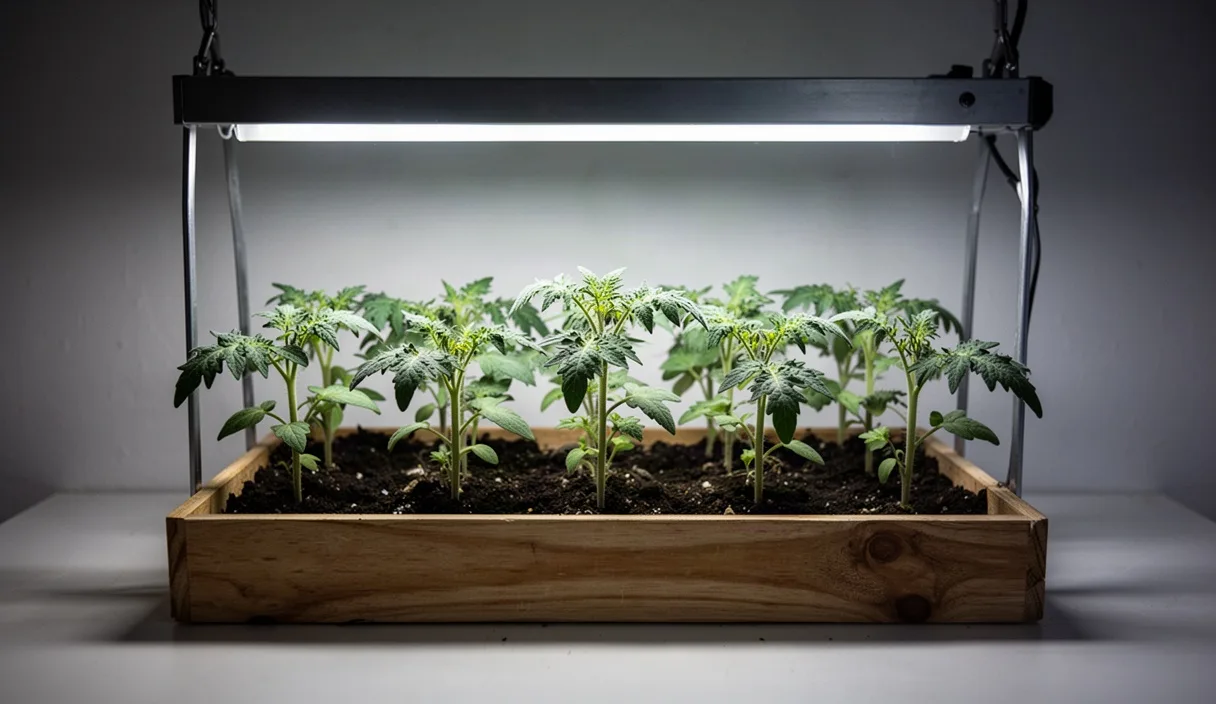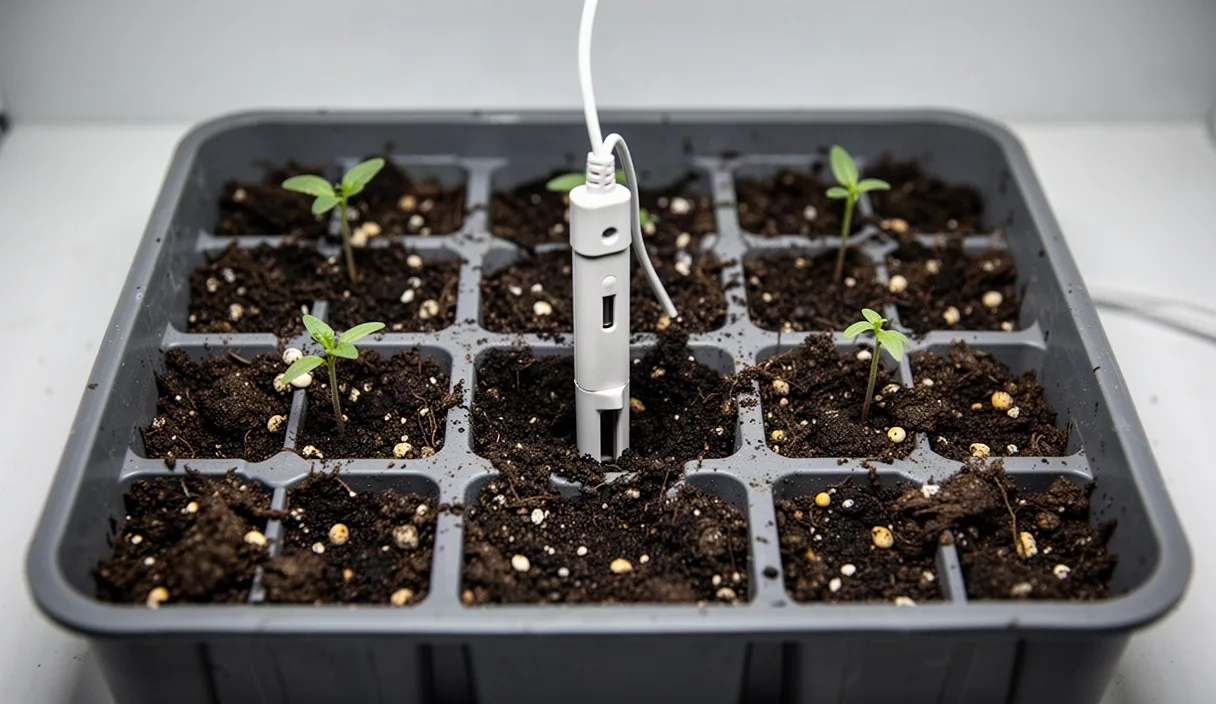
You will prepare tender indoor plants for direct sunlight, wind, and fluctuating temperatures without stalling their growth. Follow a graduated daily timetable that builds cuticle thickness before transplant day.
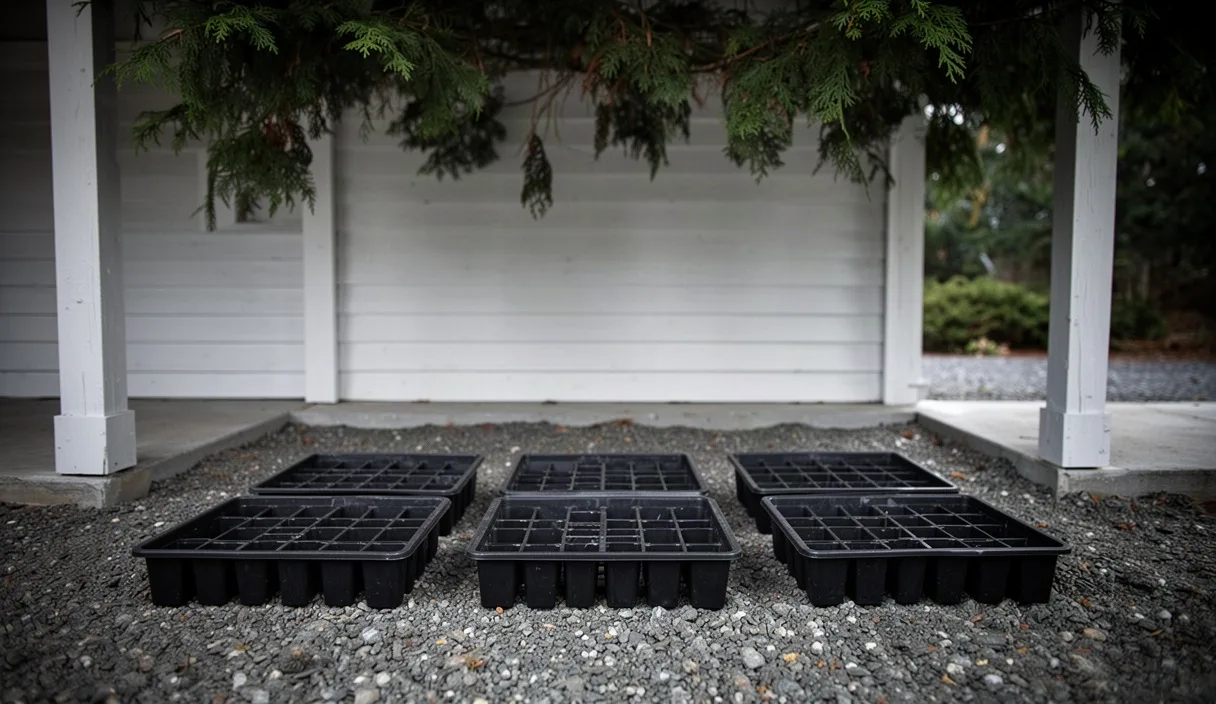

- Expose plants to filtered shade and gentle air on day one for two hours maximum.
- Withhold nitrogen fertilizers during the entire hardening period to prevent tender shoots.
- Verify overnight ground temperature before committing root balls to open garden soil.
Seedlings raised on heat mats and beneath indoor grow lights inhabit a controlled environment. Indoor relative humidity stays steady, air velocity rarely exceeds the gentle output of a circulation fan, and the light spectrum lacks the ultraviolet wavelengths that characterize unfiltered sunlight. Moving tender plants directly from these stable conditions into an open garden bed causes acute shock. The sudden exposure to direct solar radiation, turbulent air currents, and fluctuating soil moisture damages unprotected leaf tissue, often stunting vegetative growth for weeks or killing seedlings outright.
Hardening off is the physiological acclimation of young plants to outdoor field conditions. This seven-day schedule systematically exposes seedlings to environmental stress in controlled increments. By managing the variables of solar intensity, physical air movement, and root zone moisture, you trigger structural shifts within plant tissue before transplanting. The result is a resilient seedling capable of maintaining water potential and photosynthesis from its first day in native soil.
Cellular Changes Inside Hardened Leaf Cuticles
A seedling grown under artificial lighting develops large, thin leaves designed to maximize photon capture under low-energy conditions. The outer epidermal cells carry a thin cuticle with minimal wax deposition. When unhardened foliage encounters outdoor ultraviolet radiation (specifically UV-B wavelengths), excess energy overloads the photosynthetic reaction centers. This produces reactive oxygen species that degrade chlorophyll molecules, resulting in photoinhibition and the bleached, papery tissue known as sunscald.
Systematic exposure to natural light alters this cellular anatomy. In response to environmental cues, epidermal cells synthesize cuticular waxes composed of long-chain fatty acids, primary alcohols, and alkanes. This crystalline coating thickens the leaf cuticle, creating a hydrophobic shield that reflects excess ultraviolet light and restricts non-stomatal water loss. Simultaneously, the plant accumulates flavonoids and anthocyanins within the leaf vacuoles. These pigments function as botanical sunscreens, absorbing damaging wavelengths before they penetrate the mesophyll layer.
Mechanical stress and temperature shifts also alter internal cell structure. The plant deposits additional cellulose and lignin within xylem walls, increasing stem rigidity. Leaf thickness increases as palisade parenchyma cells expand into double layers, producing a denser, more compact foliage structure better suited to fluctuating vapor pressure deficits.
| Tissue Metric | Unhardened Indoor Seedling | Hardened Outdoor Seedling |
|---|---|---|
| Cuticle thickness | Minimal wax layer, high permeability | Dense crystalline wax layer, low permeability |
| Chloroplast density | Dispersed across thin, single-layer mesophyll | Packed into multi-layered palisade cells |
| Protective pigments | Low anthocyanin and flavonoid count | High concentration of UV-absorbing compounds |
| Stem composition | High water volume, low secondary cell wall lignin | High structural lignin, increased radial diameter |
The Initial Exposure Window in Dappled Shade
The hardening schedule begins with two days of low-intensity introduction. Day one requires a microclimate that shields seedlings from direct solar rays and high wind speeds while introducing outdoor air temperatures and natural air movement. A north-facing covered porch, a cold frame with an opaque shade sash, or the deep understory of a mature deciduous tree provides the proper initial habitat.
On day one, set the seedling trays outdoors for two hours during the warmest midday period, provided ambient temperatures exceed 55 degrees Fahrenheit for warm-season nightshades like tomatoes and peppers, or 45 degrees Fahrenheit for cool-season crops like cabbage and brassicas. Keep the root plugs moist. If outdoor temperatures fall below these thresholds, delay the schedule until the weather stabilizes. Return the trays indoors under grow lights for the remainder of the photoperiod.
On day two, lengthen the outdoor window to four hours in the same dappled shade location. This extended period challenges the seedlings to maintain cell turgor against changing ambient humidity levels without subjecting chloroplasts to direct solar radiation. Inspect foliage at the two-hour mark. If leaves begin to cup downward or wilt, the vapor pressure deficit is drying the leaf faster than the immature root system can draw moisture from the plug. Move the trays to a more sheltered position if wilting occurs.
Incrementally Introducing Direct Ultraviolet Rays
Beginning on day three, shift the seedlings into direct sunlight. The timing of this exposure dictates your success. Early morning sunlight between 7:30 AM and 9:30 AM delivers low ultraviolet radiation because light passes through a thicker section of the atmosphere. Midday sun between 11:00 AM and 2:00 PM delivers peak UV-B intensity, which destroys unacclimated leaf tissue.
Follow an escalating daily exposure schedule to systematically induce protective pigment synthesis:
- Day Three: Place seedlings in direct sunlight for one hour during early morning, then move them to dappled shade for four hours before bringing them indoors.
- Day Four: Expose seedlings to direct morning sun for two hours. Move them to partial shade for four hours, then return them inside overnight.
- Day Five: Provide three hours of morning sun, gradually capturing the slightly stronger light up to 11:00 AM. Keep the flats outside in open shade until late afternoon.
- Day Six: Leave seedlings in direct sun from morning through early afternoon, totaling five to six hours of direct exposure, followed by open shade until dusk.
- Day Seven: Keep seedlings outdoors in full sun exposure all day, leaving them out overnight if night temperatures remain above crop-specific baselines.
Monitor leaf color closely throughout days four and five. A healthy response involves foliage darkening to a deep green or developing a faint purple cast along leaf veins, indicating anthocyanin accumulation. If leaves show pale yellow mottling or white marginal patches, sunscald has occurred. If you notice these symptoms, immediately return the seedlings to shade for 24 hours to permit cellular repair before resuming exposure at the previous day's duration.
Wind Stress Management and Structural Stem Strengthening
Indoor seedlings typically develop tall, slender stems because they do not encounter the physical forces of atmospheric wind. In nature, mechanical perturbation induces thigmomorphogenesis, a biochemical response mediated by ethylene and calcium signaling pathways. This process halts vertical cell elongation in the stem internodes while stimulating lateral cell division. The resulting plant develops a shorter, thicker stem with a lower center of gravity and higher resistance to physical lodging.
During days one through three, protect seedlings from wind speeds exceeding 8 miles per hour. Heavy gusts snap brittle hypocotyls and desiccate young foliage before the root system can adapt. Position trays behind a windbreak, such as a wooden fence, a hay bale, or a temporary baffle constructed of landscape fabric. This buffer breaks laminar wind into less damaging turbulent air currents.
By day four, allow seedlings to experience sustained breezes between 8 and 12 miles per hour. As air currents flex the stems, mechanosensitive ion channels activate within the stem epidermis, triggering the structural synthesis of secondary cell wall components. If outdoor winds gust above 18 miles per hour, keep the trays sheltered. Unchecked wind will roll flat-bottomed cell trays and tear mature leaves from their petioles.
Watering Restrictions During the Transition Week
Transitioning seedlings need a deliberate shift in moisture management. Indoor growing often relies on sub-irrigation mats or bottom-watering trays that maintain continuous, uniform root moisture. Maintaining this saturation during hardening produces soft, succulent tissue that wilts quickly in open field conditions. Implementing mild, controlled drought stress accelerates hardiness.
Starting on day three, stop bottom-watering. Allow the growing medium in the cells to dry slightly until the top surface turns pale brown and the root plug pulls away from the cell walls by a fraction of an inch. Apply only enough water from above to prevent severe wilting. The goal is to induce mild moisture stress, which signals the plant to synthesize abscisic acid. This hormone triggers partial stomatal closure, reducing transpiration rates during outdoor hours.
Avoid taking drought stress to the permanent wilting point. If seedlings fail to rebound within 30 minutes of receiving water, the root hairs have desorbed and died, requiring the plant to spend valuable metabolic energy regenerating root tissue rather than building stem caliper. Maintain a strict cycle: allow the soil mix to dry until leaves lose firmness, apply a light dose of water, and repeat.
Final Bed Preparation and Evening Planting Protocols
By day seven, seedlings possess a thickened wax cuticle, a lignified stem, and a root system adapted to variable moisture. They are prepared for planting into native soil. The timing and execution of this installation step determine how fast the plants initiate new root growth into the surrounding soil matrix.
Prepare the garden bed 24 hours before transplanting. Work native soil to alleviate compaction in the top 8 inches, incorporating mature compost to improve soil water holding capacity and biological activity. Avoid using uncomposted organic matter or high-nitrogen synthetic fertilizers right before planting, as concentrated mineral salts draw moisture away from recovering root tips through osmotic pressure.
Schedule your transplanting for late afternoon or during an overcast day. Setting young plants into hot, sun-drenched soil under clear skies creates severe transplant shock, even in hardened seedlings. Planting in the evening gives root tips 12 to 14 hours to establish contact with surrounding soil moisture in low-transpiration conditions before facing direct sunlight.
- Thoroughly saturate the seedling cells with water two hours prior to planting to ensure root plugs slide out without tearing fine root hairs.
- Excavate a hole equal to the depth of the root plug for most species. For solanaceous crops like tomatoes, dig deep enough to bury the stem up to the first set of true leaves to encourage adventitious root formation.
- Invert the cell while supporting the stem base between your index and middle fingers. Gently compress the cell sides to release the root plug intact; do not yank the seedling out by its stem.
- Set the plug into the hole, firm the native soil around the root zone to eliminate air pockets, and immediately saturate the surrounding bed with water to settle the soil matrix.
Common Mistakes
Growers frequently encounter setbacks during the transition phase by misjudging environmental factors. Avoid these documented errors:
- Rushing the schedule during unseasonable warmth: A 75-degree spring afternoon often tempts growers to skip from day two straight to all-day exposure. Warm air does not protect leaves from UV damage. The cellular adaptations require five to seven days of biochemical signaling regardless of air temperature.
- Leaving flats out in heavy cold rains: Rain droplets falling from convective clouds carry substantial kinetic energy that batters delicate stems. Furthermore, cold rainwater saturates potting soil, dropping root-zone temperatures and triggering root rot pathogens like Pythium.
- Fertilizing with high-nitrogen feeds during the week: Applying soluble nitrogen promotes rapid cell division and expansion. This produces soft, watery cells with thin walls, actively reversing the tissue-toughening effects of the hardening process. Suspend liquid fertilization until plants have been settled in the garden bed for a full week.
Next Steps for Field Establishment
Once your hardened transplants are in the ground, support their establishment through targeted field care. Monitor local forecasts for any unseasonal frost events or sustained gale-force winds over the subsequent 72 hours. Keep floating row covers and wire hoops on hand to provide temporary thermal and physical protection if temperatures drop below seasonal norms.
Apply a 2-inch layer of organic mulch around the perimeter of each seedling, leaving a clear 1-inch ring around the central stem. Straw, shredded leaves, or wood chips stabilize soil temperatures and restrict the evaporation of soil moisture. Continue checking soil moisture daily at a depth of 2 inches, watering thoroughly whenever the top inch becomes dry to the touch, until you observe fresh vegetative growth emerging from the central leader.
This guide serves educational purposes; consult your regional agricultural extension office for site-specific soil testing and plant health orders. Disclaimer