You will calibrate seedling heat mats and regulate humidity to cut pepper germination times down to eight days. Prevent damping-off fungi by managing ventilation the moment radicles crack open.

- Maintain growing medium temperatures strictly between twenty-six and twenty-nine degrees Celsius.
- Moisten seed flats to the damp-sponge stage before sowing seed six millimeters deep.
- Remove plastic humidity covers immediately after the first green loop breaks the surface.
Pepper seeds test a grower's patience more than almost any other common garden annual. While brassicas and lettuce sprout within three to four days in cool soil, species in the genus Capsicum originate from tropical and subtropical regions where soils remain warm and evenly damp. Sowing them into cold, waterlogged potting mix results in erratic emergence, stunted root radicles, or outright seed decay.
Achieving uniform emergence across a flat requires precise control over two environmental drivers: root-zone temperature and substrate moisture tension. Managing these variables eliminates guesswork. When you pair an accurate digital thermostat with an understanding of vapor pressure dynamics beneath humidity domes, germination windows narrow from three weeks down to six to eight days.
Thermal Requirements for Capsicum Species
The optimal germination temperature for most cultivated peppers falls between 80 and 85 degrees Fahrenheit (27 to 29 degrees Celsius). At this thermal range, metabolic activity within the endosperm proceeds at peak velocity, prompting the embryo to produce gibberellic acid and break dormancy quickly. When substrate temperatures drop to 68 degrees Fahrenheit, emergence times stretch from eight days to twenty-two days, exposing the seed to soil pathogens for an extended window.
Different species within the genus exhibit slight variations in their thermal baselines. Domesticated bell and jalapeno types handle slightly wider swings, whereas tropical landraces demand consistent, uninterrupted heat to trigger germination enzymes.
| Species | Common Cultivars | Optimal Substrate Temperature | Average Days to Emerge |
|---|---|---|---|
| Capsicum annuum | Bell, Jalapeno, Cayenne, Serrano | 80 to 84 F (27 to 29 C) | 7 to 10 days |
| Capsicum chinense | Habanero, Scotch Bonnet, Ghost | 84 to 88 F (29 to 31 C) | 12 to 21 days |
| Capsicum baccatum | Aji Amarillo, Lemon Drop, Bishop's Crown | 78 to 82 F (26 to 28 C) | 9 to 14 days |
| Capsicum frutescens | Tabasco, Malagueta | 82 to 85 F (28 to 29 C) | 10 to 14 days |
| Capsicum pubescens | Rocoto, Manzano | 72 to 78 F (22 to 26 C) | 14 to 28 days |
Substrate temperature must remain stable through both day and night cycles. Unlike mature plants that benefit from nocturnal temperature drops to conserve carbohydrates, seeds lack photosynthetic tissue and depend entirely on accumulated thermal units to push the radicle through the seed coat. Allowing flats to cool down overnight delays emergence proportionally to the duration of the drop.
Calibrating Thermostats with Soil Temperature Probes
Relying on unregulated heat mats or the ambient air setting of a room guarantees inconsistent results. Unregulated mats often spike substrate temperatures above 95 degrees Fahrenheit under direct contact, which cooks delicate embryos. Conversely, in cold basements or drafty greenhouses, a standard seedling mat might only raise the soil temperature eight degrees above ambient room levels, leaving the media far below the target zone.
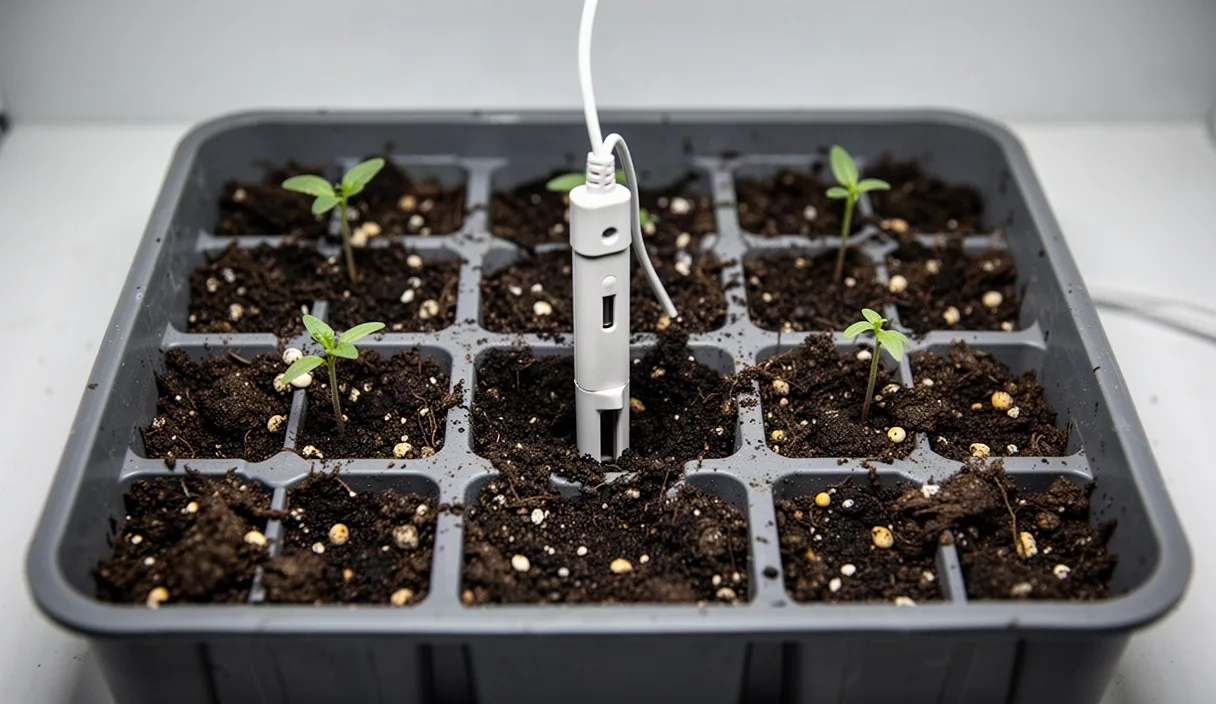
A digital temperature controller with a stainless steel remote probe is mandatory. You must insert the probe directly into the germination substrate, not into the air space under the dome, and not between the mat and the bottom of the plastic tray. Position the probe into a central cell of the tray at seed depth, roughly a quarter-inch below the surface. If you rest the probe on the bottom of the cell, the thermostat will shut off while the upper layer of soil, where the seed resides, remains too cool.
To calibrate and balance your heating setup across the entire footprint, follow these guidelines:
- Place a sheet of half-inch rigid foam insulation directly underneath the heating mat to prevent cold workbenches from sinking thermal energy downward.
- Avoid placing trays directly over heating elements without an air gap if your mat produces hot stripes; use a wire mesh or thin aluminum spacer to distribute the heat evenly.
- Check cell temperatures in both the center and the perimeter of the tray using a handheld instant-read soil thermometer to identify cool edges. Perimeter cells often run three to five degrees cooler than interior cells due to ambient air exposure.
- Adjust the setpoint on the controller one or two degrees higher if your perimeter cells sit below 80 degrees Fahrenheit, provided the center cells do not exceed 88 degrees Fahrenheit.
Pre-Soaking Protocols and Sowing Depth Accuracy
The outer seed coat (testa) of Capsicum species is thick and waxy, designed to survive passing through an animal's digestive tract. In dry storage, this protective layer hardens. Pre-soaking rehydrates the internal tissue and leaches out germination inhibitors present on the seed coat, accelerating radicle emergence by two to four days.
A standard water soak works, but mild chemical or biological solutions yield better results. Soaking seeds for twelve to eighteen hours in a weak chamomile tea or a solution of potassium nitrate (one gram per liter of water) softens the lignin in the seed coat without starving the embryo of oxygen. Never soak seeds for more than twenty-four hours; submerged seeds deplete available dissolved oxygen quickly and suffocate, which prevents cellular division.
Sowing depth directly governs how easily the cotyledons shed the seed coat upon emergence. If sown too shallowly, the seed coat dries out as it pushes into the air, remaining stuck over the cotyledons like a helmet. This phenomenon, known as a stuck seed cap, restricts photosynthesis and often tears the embryonic leaves. If planted too deeply, the embryo exhausts its stored starches before reaching light.
Follow this routine for consistent depth and contact:
- Fill your seedling cells with a fine-grade peat or coco-coir based germination mix, tapping the tray firmly against the bench to settle voids without compacting the media.
- Moisten the mix completely before sowing so you do not displace seeds with heavy watering afterward.
- Press the seed flat onto the media surface, oriented horizontally rather than vertically, to give the root radicle and hypocotyl distinct leverage points.
- Cover the seed with exactly one-quarter inch of sifted mix or medium-grade vermiculite. Vermiculite retains moisture around the seed coat while providing minimal mechanical resistance to the upward-pushing stem.
- Tamp the surface lightly with the flat bottom of an empty cell pack to establish capillary contact between the media particles and the seed coat.
Managing Vapor Pressure Deficit Under Humidity Domes
Vapor Pressure Deficit (VPD) represents the difference between the amount of moisture in the air and how much moisture the air can hold when saturated. During the pre-emergence window, maintaining a low VPD (between 0.2 and 0.4 kPa) is essential. High humidity in the air space prevents the top quarter-inch of the media from drying out between waterings. If the seed absorbs water, begins cellular division, and then dries out for even three hours, the embryo dies.
Clear plastic domes trap water evaporating from the heated substrate, creating a saturated microclimate with relative humidity hovering between 85% and 95%. However, excessive condensation that pools and drips continuously onto individual cells causes problems: it compacts the surface, displaces vermiculite, and creates anaerobic pockets in the root zone.
Manage dome airflow dynamically based on the state of the tray:
- Keep dome vents completely closed from the day of sowing until you spot the very first hook of a hypocotyl breaking the soil surface.
- Wipe down excessive condensation from the underside of the dome once per day. This prevents heavy droplets from pounding the soil surface and allows light to penetrate clearly once emergence begins.
- Open top vents half-way as soon as roughly 15% of the seeds in the tray show visible emergence. This introduces fresh air, brings the VPD up to around 0.6 to 0.8 kPa, and begins drying the immediate surface layer.
- Remove the dome entirely within twenty-four to thirty-six hours after general emergence. Leaving a sealed dome over newly emerged seedlings creates high humidity and low air movement, which invites fungal spore germination.
Preventing Pythium and Rhizoctonia Damping-Off
The warm, moist conditions ideal for pepper seeds also provide optimal habitat for water molds and fungal pathogens, notably Pythium ultimum, Rhizoctonia solani, and Fusarium species. Damping-off manifests in two ways: pre-emergence, where the seed rots before the shoot breaches the soil, and post-emergence, where the stem constricts at the soil line, turns water-soaked, and collapses overnight.
Moisture management provides your main cultural defense. The germination substrate must remain damp, never waterlogged. Saturated media fills pore spaces with water instead of air. Pepper roots require dissolved oxygen to fuel the cellular respiration that drives growth. Without oxygen, root cells leak sugars and amino acids into the surrounding substrate, chemically signaling pathogenic zoospores to swim toward the vulnerable seedling.
Sterilize all equipment before filling trays. Wash previously used plastic flats in a solution of one part chlorine bleach to nine parts clean water, soaking for ten minutes to denature fungal resting spores. Alternatively, use commercial peracetic acid solutions according to label directions. Never reuse unsterilized potting soil for seed starting; always choose a sterile, soilless germination substrate with high porosity.
Water quality matters as well. Avoid using cold tap water straight from the plumbing line, which thermal-shocks the root zone and drops bottom-heat temperatures instantly. Use room-temperature or lukewarm water (around 75 degrees Fahrenheit). Bottom-watering trays by pouring liquid into the lower catchment basin, allowing it to soak upward via capillary action for twenty minutes, and then pouring off the excess prevents surface compaction and keeps the upper stem dry.
Immediate Post-Emergence Care and Heat Mat Removal
The transition from germinating seed to autotrophic seedling requires immediate environmental shifts. As soon as the hypocotyl loop straightens and the green cotyledons expand, thermal requirements drop while light and transpiration needs skyrocket.
Leaving seedlings on high bottom heat once emerged produces rapid stem elongation without proportional structural tissue development, resulting in weak, spindly seedlings that fall over under their own weight. Turn off the heat mat or remove the flat from the mat once approximately 60% of the cells show emerged seedlings. Move the tray to an environment with daytime ambient temperatures between 70 and 74 degrees Fahrenheit and nighttime temperatures around 65 degrees Fahrenheit.
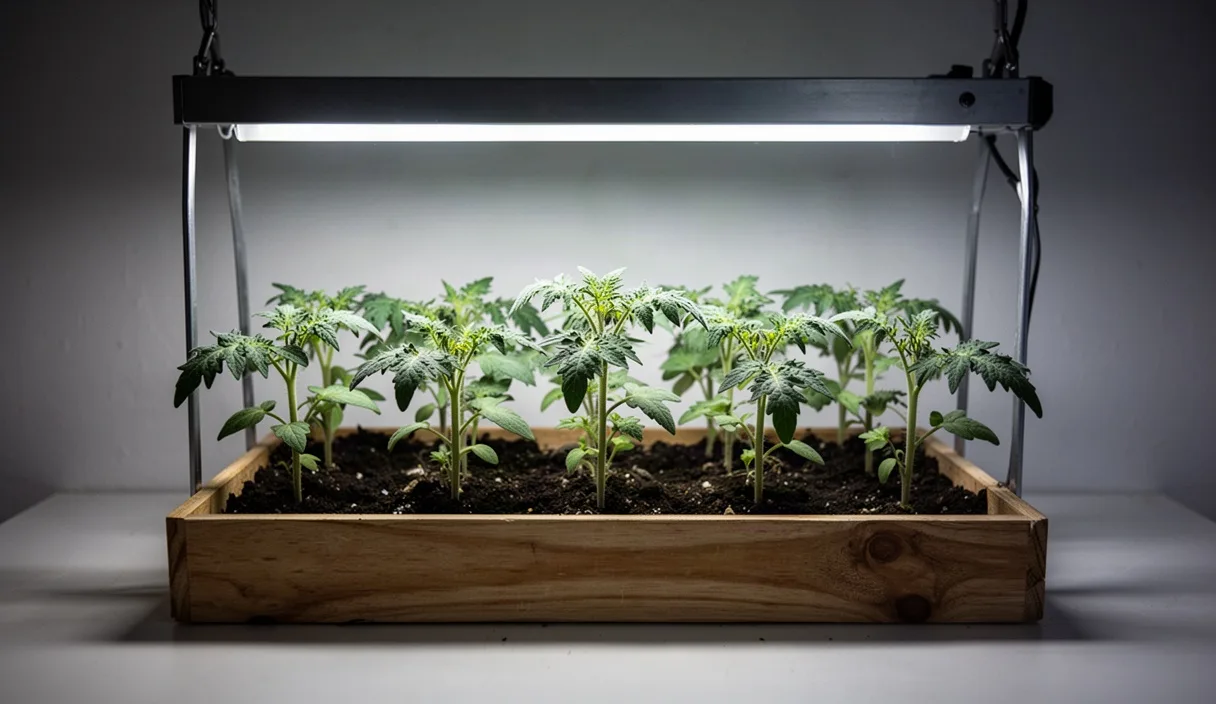
Provide high-intensity lighting immediately upon emergence. If you use LED or T5 fluorescent grow lights, hang the fixtures two to four inches above the tops of the cotyledons. Running lights for fourteen to sixteen hours per day prevents etiolation and initiates vigorous photosynthesis. Keep a small oscillating fan running on its lowest setting across the room to create gentle air movement over the seedlings. This slight mechanical stress triggers the production of lignin and cellulose, thickening the stems and preventing stagnant air layers from sheltering fungal spores.
Common Mistakes
- Setting the thermostat based on room air temperature: Air temperatures under a dome fluctuate wildly under ambient light, while soil temperatures respond far more slowly. Always place the probe directly in the potting mix.
- Sowing unevenly: Pushing seeds to variable depths produces staggered germination. Some plants emerge in seven days while others take twenty, making dome removal and lighting decisions difficult.
- Overwatering cold substrate: Cold, saturated soil is a primary incubator for Pythium. If the heating mat fails or runs too cool, heavy moisture quickly rots the seed embryo.
- Leaving humidity domes on too long: Maintaining high humidity after the first true leaves begin forming softens stem cuticles and virtually invites damping-off pathogens.
- Tearing off stuck seed coats manually: Pulling dry seed coats off newly emerged seedlings often snaps the growing tip. If a seed coat is stuck, soften it with a drop of warm water or saliva, wait ten minutes, and gently ease it off with fine forceps.
Next Steps for Successful Pepper Starts
Before sowing your pepper crop, assemble and test your equipment at least forty-eight hours in advance. Place your heat mat on an insulated base, fill a test cell with damp potting mix, insert your thermostat probe to seed depth, and confirm that the digital controller maintains your target temperature between 82 and 85 degrees Fahrenheit without wild fluctuations.
Inventory your seed packets by species. Group your Capsicum chinense varieties (such as habaneros and super-hots) in separate trays from fast-germinating Capsicum annuum types. Because chinense varieties can take up to two weeks longer to emerge, keeping them in dedicated flats allows you to pull humidity domes and remove bottom heat on schedule for the faster varieties without starving the slower types of the heat and moisture they still require.
Once you verify your temperatures and group your varieties, proceed with pre-soaking and sowing. Monitor probe readouts twice daily, vent domes at the first sign of green hypocotyl loops, and transition your seedlings to strong lighting and cooler ambient air as soon as the cotyledons unfold.
This guide serves educational purposes; consult your regional agricultural extension office for site-specific soil testing and plant health orders. Disclaimer