You will take accurate core samples and interpret laboratory slurry tests without guesswork. Select between calcitic limestone and elemental sulfur to bring your garden beds into the optimal range for nutrient uptake.

- Collect core samples from ten random points at a depth of fifteen centimeters for reliable composite data.
- Apply finely ground dolomitic limestone only when soil tests confirm low magnesium along with low pH.
- Work elemental sulfur into topsoil six months prior to planting to allow bacterial oxidation.
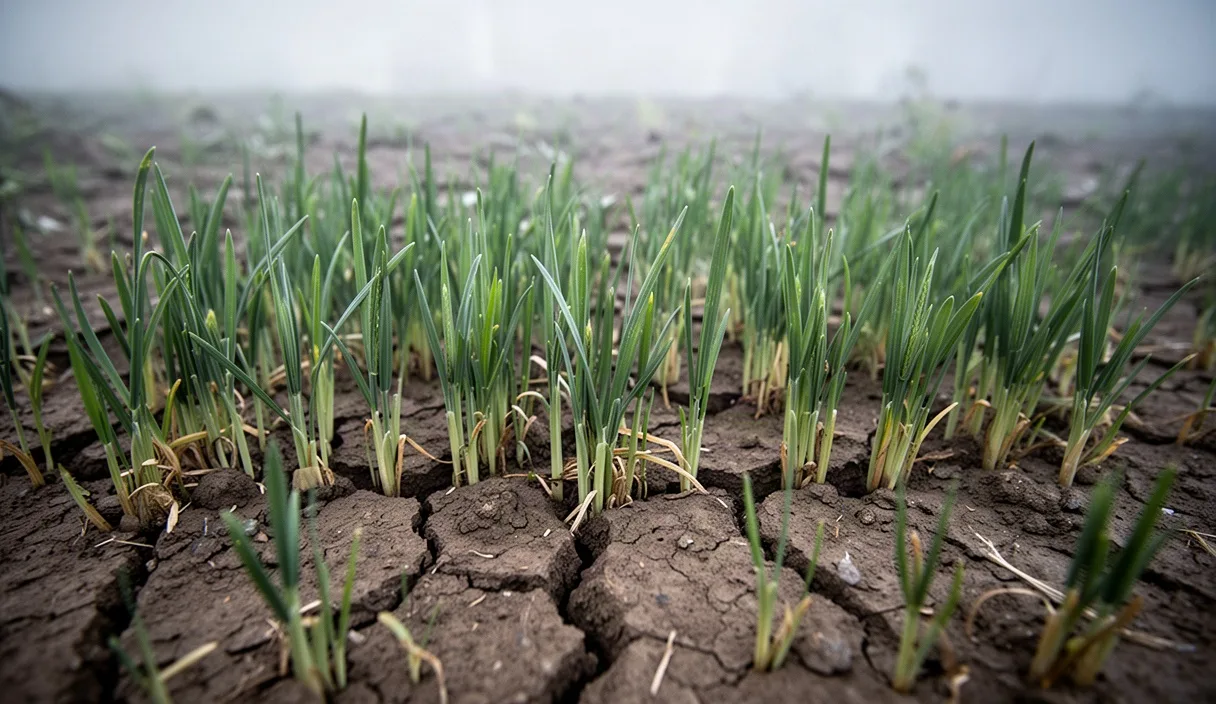
Soil pH measures the concentration of hydrogen ions in the moisture surrounding soil particles. In a vegetable garden, this single chemical metric dictates whether the minerals already present in the ground can dissolve into solution and cross the root membrane. When pH drifts outside the physiological tolerance of a crop, adding synthetic or organic fertilizer rarely solves visible deficiencies. The nutrients remain locked in insoluble chemical bonds, suspended in the soil matrix while plants display chlorosis, stunted root branches, and aborted blossoms.
Managing soil reaction requires precision rather than guesswork. Soil behaves as a buffered chemical system, meaning it resists changes in pH based on its texture, mineralogy, and organic matter content. Gardeners who broadcast lime or elemental sulfur based purely on surface symptoms often compound their problems, pushing soils into nutrient-toxic extremes that take seasons to reverse. Achieving reliable yields requires an understanding of chemical availability, proper physical sampling protocols, lab data interpretation, and measured amendment calculations.
Why Soil pH Directly Controls Nutrient Availability
The pH scale is logarithmic: each whole unit shift represents a ten-fold increase or decrease in hydrogen ion concentration. A soil at pH 5.5 is ten times more acidic than a soil at pH 6.5 and one hundred times more acidic than a soil at pH 7.5. This logarithmic shift fundamentally alters the ionic charge on soil colloids and drives precipitation reactions between minerals.
In acidic soils below pH 6.0, phosphorus binds tightly to dissolved aluminum and iron ions, forming insoluble aluminum phosphate and iron phosphate complexes. Plants growing in these conditions show the purple leaf margins and stunted vigor characteristic of phosphorus starvation, even if a total soil digestion test shows high gross phosphorus levels. Simultaneously, microelements like iron, manganese, and aluminum dissolve in higher quantities. At pH values under 5.2, aluminum ions reach concentrations that damage root tips, stopping cell division within hours of root emergence.
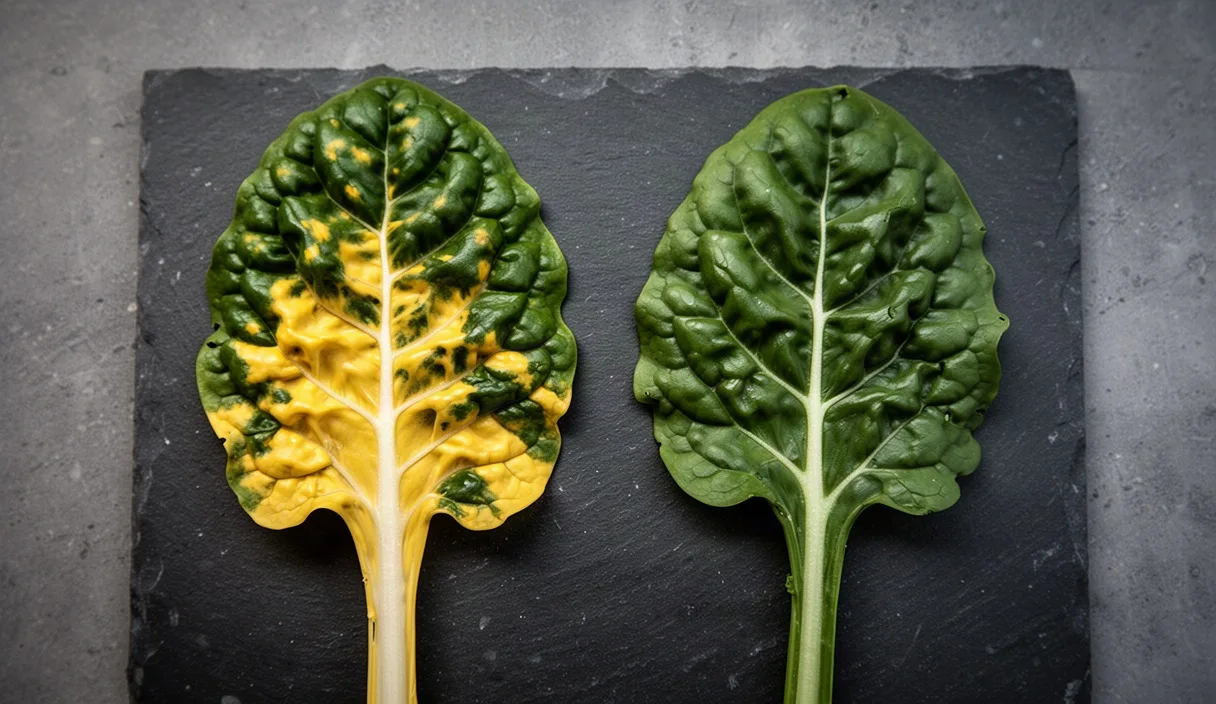
Conversely, when soil pH rises above 7.2, phosphorus precipitates with free calcium ions to form insoluble calcium phosphate minerals such as hydroxyapatite. In these alkaline conditions, iron, zinc, copper, and boron oxidize into forms that vegetable root hairs cannot absorb. Yellowing of new growth with prominent green veins, known as interveinal chlorosis, appears across solanaceous and brassica crops as iron uptake drops.
| Soil pH Range | Classification | Primary Nutrient Limitations | Common Toxicity Risks |
|---|---|---|---|
| Below 5.5 | Strongly Acidic | Phosphorus, Potassium, Calcium, Magnesium | Aluminum, Manganese |
| 5.5 to 6.1 | Moderately Acidic | Phosphorus, Calcium | Rare in mineral soils |
| 6.2 to 6.8 | Target Vegetable Range | Balanced availability across all major ions | None observed |
| 6.9 to 7.4 | Slightly Alkaline | Phosphorus, Iron, Zinc | None observed |
| Above 7.5 | Moderately to Strongly Alkaline | Iron, Manganese, Zinc, Copper, Boron | Sodium, Boron (in arid soils) |
Most vegetable families, including Solanaceae (tomatoes, peppers), Brassicaceae (cabbage, broccoli), and Cucurbitaceae (squash, cucumbers), yield best within a target range of 6.2 to 6.8. A notable exception is the common potato (Solanum tuberosum), which growers maintain between 5.2 and 5.8 to suppress the soil-borne bacterium Streptomyces scabies, the causal agent of potato scab.
Field Collection Protocol for Clean Core Samples
A soil test produces data only as reliable as the physical sample sent to the laboratory or measured in the field. Collecting a single trowel of surface dirt from the edge of a garden path will skew application rates and waste inputs. The root zone for annual vegetables sits between 6 and 8 inches deep, and this entire profile must be sampled evenly.
Equipment choice directly impacts diagnostic accuracy. Never use galvanized steel, brass, or bronze tools, because these alloys shed zinc and copper ions into the sample. Use a dedicated stainless steel soil probe or a clean, unpainted stainless steel trowel. The collection bucket must be clean plastic; metal buckets contaminate readings for micronutrients and exchangeable cations.
- Clear the surface. Scrape away mulch, dead crop residues, and green living weeds from a 4-inch circle without removing mineral topsoil.
- Extract vertical cores. Push the stainless steel probe straight down to a depth of 6 inches. If using a trowel, dig a 6-inch V-shaped hole, clear the loose soil, and shave a uniform half-inch slice from the vertical face of the hole from top to bottom.
- Collect sub-samples systematically. Walk a zigzag pattern across the growing area. For a uniform bed or block up to 500 square feet, gather 10 to 12 separate cores to create one composite sample.
- Homogenize in plastic. Deposit all sub-samples into the plastic bucket. Break up clods by hand, remove coarse root fragments, stones, and earthworms, and stir the soil thoroughly.
- Air-dry the composite. Spread a 2-cup portion of the mixed soil across clean butcher paper or an unbleached paper plate. Let it dry at room temperature out of direct sunlight. Never dry soil samples in an oven or microwave, as rapid thermal drying destroys microbial biomass and artificially spikes exchangeable potassium and ammonium levels.
Interpreting Slurry Readings Versus Buffer pH
Field test kits and digital pocket probes measure active acidity, whereas commercial agricultural laboratories report both soil pH (active acidity) and buffer pH (reserve acidity). Understanding the difference between these two measurements prevents under-dosing or over-dosing amendments.
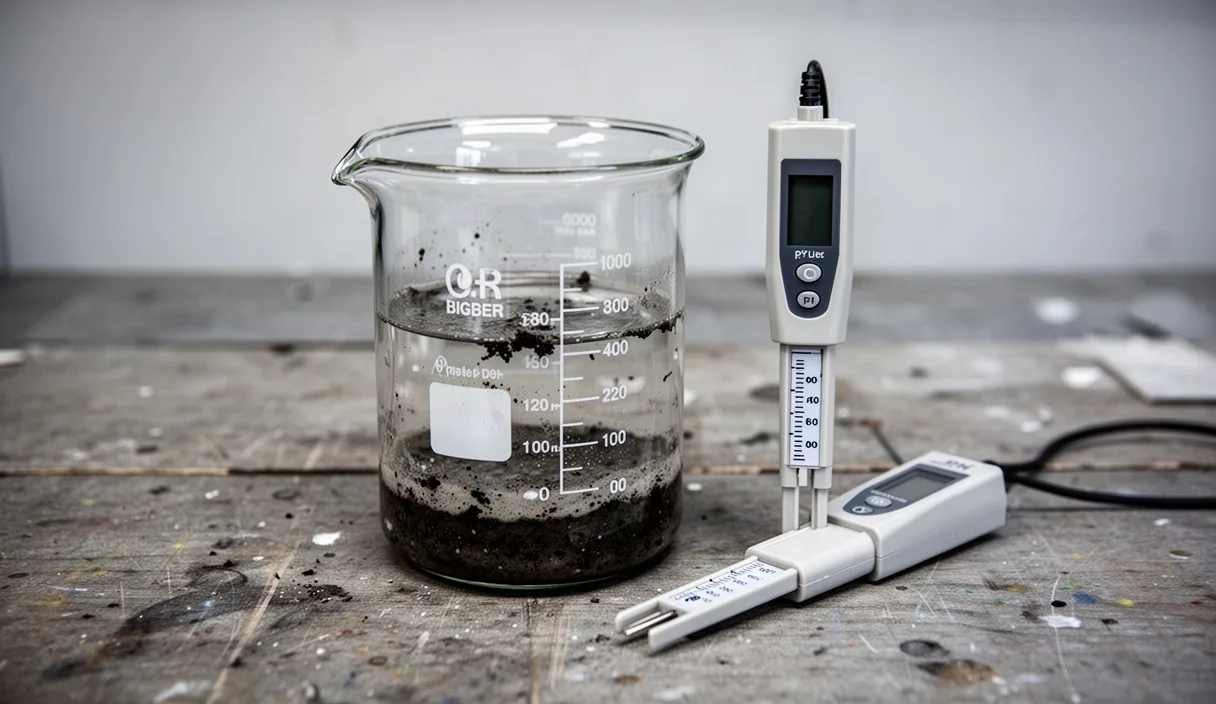
Active acidity is the concentration of free hydrogen ions in the water solution immediately surrounding soil particles. A standard 1:1 or 1:2 water slurry test, where dried soil mixes with distilled water, measures this pool. Active acidity determines what a plant root experiences at the current moment. However, it represents only a small fraction of the total hydrogen and aluminum ions in the ground.
Reserve acidity consists of hydrogen and aluminum ions bound electrostatically to the surface of clay minerals and humic organic matter. When amendments neutralize the hydrogen ions in the soil solution, the soil colloids release their stored hydrogen ions to replace them. This resistance to change is buffering capacity.
To quantify reserve acidity, laboratories introduce a chemical buffer solution (such as the Mehlich, Sikora, or SMP buffer) with a set, known pH into the soil sample. The soil lowers the buffer's pH. The degree of this reduction yields the buffer pH (often labeled BpH or Buffer Index on test sheets). A soil with a high cation exchange capacity (CEC), such as a clay loam high in humus, holds substantial reserve acidity. It will register a lower buffer pH than a sandy soil starting at the exact same slurry pH. Consequently, the clay soil requires triple the amendment weight to move the active pH by one full unit compared to the sand.
Calculating Dolomitic Limestone Application Rates
When soil testing reveals an active pH below 6.2, agricultural limestone serves as the primary base. Limestone raises pH by neutralizing hydrogen ions; the carbonate (CO3) component reacts with water and hydrogen to yield bicarbonate and eventually carbon dioxide and water, while calcium and magnesium ions occupy the vacant exchange sites on soil particles.
Gardeners must choose between calcitic limestone (calcium carbonate) and dolomitic limestone (calcium magnesium carbonate). The choice depends entirely on the base saturation levels of the soil test:
- Select calcitic limestone if soil magnesium saturation exceeds 15% of the total CEC.
- Select dolomitic limestone if soil magnesium saturation falls below 10% to 12% of the CEC, or if absolute magnesium measures under 75 parts per million.
Limestone recommendations from laboratories are typically standardized for an agricultural furrow slice (a depth of 6 to 7 inches) over one acre or 1000 square feet. For home garden beds, calculate rates using the buffer pH value rather than the active pH alone. For example, to raise a sandy loam from an active pH of 5.5 (buffer pH 6.6) to a target pH of 6.5, the baseline rate is roughly 25 to 30 pounds of pulverized limestone per 1000 square feet. For a clay loam with the same active pH of 5.5 but a buffer pH of 6.2, the requirement jumps to 75 to 85 pounds per 1000 square feet.
Do not apply more than 50 pounds of limestone per 1000 square feet in a single topdress application. If a bed requires 90 pounds total based on lab calculations, split the treatment into two applications spaced 4 to 6 months apart. Rake the material into the top 3 inches of damp soil. Limestone dissolves slowly; depending on soil moisture, particle size (fineness), and microbial activity, it requires 3 to 6 months to register a full chemical shift in active pH.
Lowering Alkaline Soils with Elemental Sulfur
Alkaline soils (pH above 7.3) occur naturally in arid regions with high native limestone geology, or artificially where gardeners applied wood ashes or lime excessively. Lowering pH requires elemental sulfur (soil sulfur) or, in small containers, acidifying organic matter. Hydrated aluminum sulfate is sold commercially for acidifying, but it carries a substantial risk of aluminum toxicity in food production beds; elemental sulfur is safer and more stable.
Elemental sulfur does not lower pH immediately upon contact with the dirt. It relies on a biological process: specialized soil bacteria, predominantly from the genus Thiobacillus, oxidize the sulfur to produce sulfuric acid. This biological reaction requires three environmental conditions:
- Soil temperatures consistently above 55 degrees Fahrenheit (13 degrees Celsius).
- Adequate soil moisture (roughly 40% to 60% of field water capacity).
- Aerobic conditions (well-aerated, uncompacted soil).
In cold, waterlogged soils, sulfur remains inert. When conditions warm in late spring, bacterial colonies expand and acid production accelerates.
| Starting pH | Target pH | Sandy Soil (lbs/1000 sq ft) | Loam Soil (lbs/1000 sq ft) | Clay Soil (lbs/1000 sq ft) |
|---|---|---|---|---|
| 7.5 | 6.5 | 10 to 12 | 15 to 18 | 22 to 26 |
| 8.0 | 6.5 | 28 to 32 | 35 to 40 | 45 to 52 |
| 8.5 | 6.5 | 42 to 46 | 55 to 60 | 68 to 75 |
Do not exceed 12 to 15 pounds of elemental sulfur per 1000 square feet in a single application to active planting beds. Excessive, rapid acid generation creates localized salt index spikes that desiccate root hairs. For severe alkalinity, split the total calculated weight into seasonal applications applied in spring and early autumn.
Annual Testing Cadence Across Distinct Growing Beds
A garden is not a uniform expanse. Different beds develop distinct chemical profiles based on irrigation sources, seasonal crop extractions, and organic matter additions. Raised beds packed with commercial bagged compost often retain higher pH levels and salt indices than surrounding in-ground native plots. Heavy feedings of ammonium-based fertilizers acidify beds over two or three years, while hard tap water high in dissolved calcium carbonate gradually raises bed pH over several seasons.
Establish a consistent testing cadence. Sample each distinct growing block every twelve months until the pH stabilizes inside the 6.2 to 6.8 zone, after which testing every two or three years is sufficient. The best window for sampling is autumn, immediately following crop removal. Autumn testing offers two distinct operational benefits:
First, commercial labs handle lower volume in the autumn and return results faster than during the spring rush. Second, applying limestone or sulfur in the autumn gives the materials four to six months of moisture and winter freeze-thaw cycles to dissolve and integrate into the profile. By the time seeds hit the ground in spring, the chemical equilibrium has shifted without shocking the seedlings.
Keep a physical ledger of each bed. Track the laboratory name, sample date, active slurry pH, buffer pH, and the exact weight and type of amendment introduced. Because compost inputs vary widely in their mineral content, noting these additions alongside chemical data helps identify which practices push the soil toward stability or drive it out of balance.
Common Mistakes
Diagnosing and amending soil pH exposes gardeners to chemical pitfalls that damage long-term soil structure and crop yields.
- Using hydrated lime or quicklime. Hydrated lime (calcium hydroxide) and quicklime (calcium oxide) react violently with water and drive pH up within hours. This rapid shift releases volatile ammonia gas that kills beneficial soil microbes, damages seeds, and burns plant tissue. Stick strictly to pulverized or pelletized agricultural limestone.
- Trusting probe meters without calibration. Two-prong direct-insertion analog meters pushed into dry or semi-dry garden dirt operate on galvanic corrosion and produce wildly inaccurate numbers, often reading a flat 7.0 regardless of actual conditions. Digital slurry meters must be calibrated with two-point standard reference solutions (pH 4.01 and pH 7.00) immediately before every testing session.
- Treating symptoms with wood ashes. Wood ash contains soluble potassium carbonate and oxides. It raises pH roughly 30% to 40% as efficiently as pure lime, but it dissolves far more rapidly and contains variable heavy metals. Spreading ash haphazardly over-sweetens soil and creates localized micronutrient lockups.
- Applying elemental sulfur during seed planting. Direct contact with unoxidized sulfur granules can desiccate young root caps. Incorporate sulfur at least four to six weeks before direct seeding or transplanting tender crops.
Practical Next Steps for the Current Season
To establish baseline stability across your vegetable garden, begin with an immediate site inventory. Identify each physically distinct zone: separate in-ground native rows, raised wood-frame beds, and dedicated perennial beds (such as asparagus or strawberries). Treat each zone as an independent management block.
Procure a stainless steel probe or dedicated sampling trowel and assemble a 2-cup composite sample from 10 to 12 cores for each zone. Package these air-dried samples in laboratory-provided bags and request a comprehensive soil profile that explicitly includes both active pH and buffer pH, along with cation exchange capacity and base saturation percentages. If your municipal extension service or local university does not process samples directly, use an accredited regional agricultural diagnostic lab.
Once the lab reports arrive, calculate target additions using the exact square footage of your individual beds rather than broad field estimates. Order bulk amendments based on chemistry: dolomitic limestone for low-magnesium plots, calcitic limestone for balanced plots, and granular 90% elemental sulfur for alkaline areas. Schedule your applications for early autumn or late winter, allowing the natural precipitation and biological cycles of the soil to stabilize the root zone before planting begins.
This guide serves educational purposes; consult your regional agricultural extension office for site-specific soil testing and plant health orders. Disclaimer